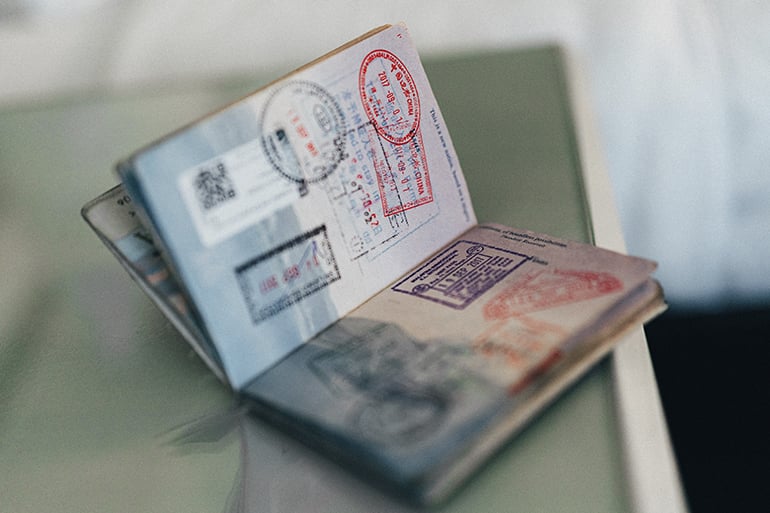
So, …you’ve arrived in Spain and after enjoying the honeymoon period of settling into Spanish life with cañas and tapas, you now have to navigate the more boring administration tasks of getting your official documents in order. I´m sure you will have heard people talking about the NIE and TIE (pronounced nee-ay and tee-ay) and many stories about how it can be a nightmare to obtain these seemingly elusive documents. But what exactly are they, and how do you get the TIE in Spain?

Firstly, let’s look at the lingo and the difference between the two…
- the NIE (Número de Identidad de Extranjero) is for EU citizens.
- the TIE (Tarjeta de Identidad de Extranjero) is for non-EU citizens.
- Pre-Brexit, British citizens obtained the NIE, but now as the UK is no longer part of the EU, British citizens need to apply for the TIE. This includes new arrivals and those already living here who had a NIE before the official “divorce”, they must also exchange their NIE for a TIE).
In both cases, the NIE and TIE are required by those planning to live in Spain for longer than the 90 days/3 months allowed when you enter the country as a tourist, and it is essentially your official Spanish ID number which supports your status as being a temporary resident. Not only do you need it to make your status legal in Spain, but also you need it in order to do all sorts of things, such as;
- Studying, working for an employer, registering as self-employed, setting up a business, renting or buying a home, registering for social services, having access to public healthcare, opening a bank account and getting a mobile phone contract.
- You even need it to collect parcels from the post office or to confirm acceptance of some home deliveries – so basically, it is your passport to being able to live a normal life while you are living here.
I´m going to focus on how to get the TIE in Spain, as this is now the more common ID required because of the Brexit changes, and it is the document for all non-Europeans who are planning to live in Spain for 6 months or more.
In order to get the TIE in Spain you need to be able to prove the following criteria:
- Students - that you have been accepted by a university or equivalent educational establishment, and that you have financial funds to support yourself.
- Working – that you have a contract with a Spanish company OR that you have registered as self-employed (autonomo status).
- Relevant visa application approval.
- You have registered in your city/town for the Empadronamiento document.
- You have valid health insurance or healthcare cover if you are working/paying social security contributions.
- You have a valid passport which has more than 6 months before expiry.
Now, we will move onto the key steps in the application process of how to get a TIE in Spain :
Step 1: Make an appointment
You need to make an appointment (cita previa) at the Spanish Immigration offices of the city or town you are living in – and more importantly - you need to request an appointment within the first 30 days of your arrival in Spain. (Technically, you only have 30 days to visit Spain as a tourist before you are legally obliged to leave the country!)
- Visit the main government administration website for Spain and select the province you are living in from the drop-down menu and click “aceptar”
- The next page has 3 drop down options
- The first “cualquier oficina” is to select a specific office. This is not a mandatory field to complete, so you can leave it blank if you are unsure which office is best for you, or if you want to see maximum options of availability at different offices.
- Ignore the second drop down – this is for other types of appointments
- The third drop down is the one you want, called “TRÁMITES CUERPO NACIONAL DE POLICÍA”. Click on this, select “Policía – Toma de Huellas (Expedición de Tarjeta) y Renovación de Tarjeta de Larga Duración” and then click aceptar.
- You will then see an information page – which includes details and terms and conditions of the TIE application. It is (obviously) in Spanish, so it is useful to copy/paste into a translation app and print for reference. Scroll to the bottom and click entrar.
- You will then need to add your personal information – passport number, name, nationality. Important note:
- You need to provide current contact details during this application and the personal details need to match on all documents, for example the address on this application form must match the address of your empadronamiento etc.
- You will also be asked to include a phone number so you can be sent a code as part of the confirmation process, I would recommend using a Spanish number just in case the system doesn’t send to international numbers.
- On the request the appointment (solicitor cita) page, you will be able to choose a date and time slot for your appointment and will be shown available slots at the relevant offices. These appointments are usually in the next few weeks from date of solicitation but may be longer if there is high demand. When the appointment is confirmed, save and print the confirmation page, as you need to take a copy of this to the appointment.
Step 2: Complete the application form
You MUST complete the EX-17 application form in advance of the appointment as you need to provided 2 printed and signed copies of this document. The form is in Spanish, so if your Spanish is limited, I would suggest asking a friend or colleague who speaks better Spanish to help you complete the fields requires. Another option is to ask to see a copy of the same form that one of your contacts has already submitted so you can check which field relates to which information. Here is a run down of the main sections;
- “Datos del solicitante” – You need to complete your personal details including your passport number, full name, O.B, address, telephone etc. The part which may worry you is the box “Representante legal en su caso / DNI/NIE/PAS / Título” – this is just to put the contact details if a representative is applying for you, so if you are completing the application yourself you can leave this box empty.
- “Datos del represente a efectos de prestación de la solicitud” – as with the last point above, most people don´t need to complete this, it is only for those who have a representative helping them to complete the application.
- “Domicilio a efectos de notificaciones” – this section only needs to be completed if you want to use a different address for notifications to the address you have put in section 1 – if you want to receive communications to the address you have put in section 1 you don’t need to complete this section. You will also see a tick box that says “CONSIENTO que las comunicaciones y notificaciones se realicen por medios electrónicos” – which translated is “I consent for communications and notifications to be made by electronic means”. At the top of page 2 you need to rewrite your full name at the top on the line “Nombre y apellidos del titular”
- “Situación en España”– Here you need to confirm the start date of your stay in Spain (fecha de inicio) how long you plan to be in Spain (periodo previsto de residencia) and give the reason for your application. In most cases you will select one of the first 4 options under “Residencia temporal” (temporary residence), based on your status and documentation.
- Trabajador por cuenta ajena – employed worker.
- Trabajador por cuenta propia - Self-employed.
- No activo con recursos suficientes y seguro de enfermedad - Not active with sufficient resources and health insurance.
- Estudiante con recursos suficientes y seguro de enfermedad - Student with sufficient resources and health insurance.
Finally – you need to fill in the place and date (e.g. Madrid, 1 de 12 de 2021) and print 2 copies. Once printed you need to physically sign in the box that says “Firma del solicitante”.
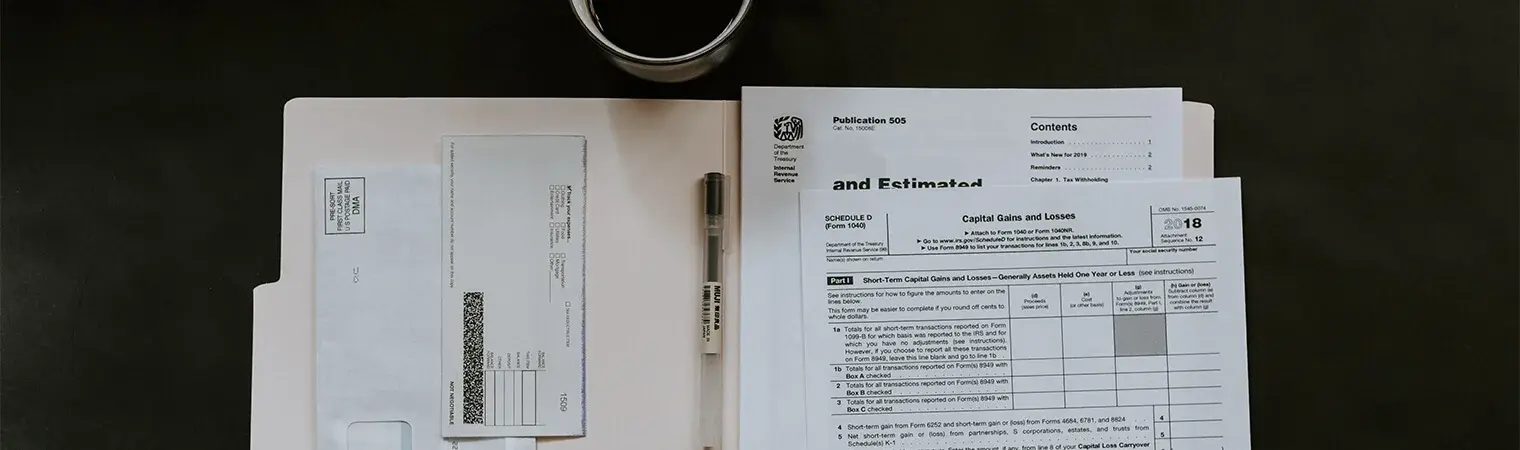
Step 3: Complete the tax form and pay the fee
BEFORE you go for your appointment, you MUST complete the 790-012 tax form “Tasa modelo 790 codigo 012” and PAY the tax fee of €15.92 at a local bank, as you need to take the receipt of this payment to the appointment.
- Go to “Tasa modelo 790 Código 012” and complete the 4 sections on this form
-
- “Identificación” – you need to add your personal information – passport number, name and address.
- “Autoliquidación” - you need to choose the option “principal”. Below this you have a number of options. You simply need to go to “Tarjetas de identidad de extranjeros (TIE) y certificados de registro de residentes comunitarios” and select “TIE que documenta la primera concesión de la autorización de residencia temporal, de estancia o para trabajadores transfronterizos”.
- “Declarante” - you need to put the city/town you are living in the “localidad” box, and the date in the “fecha” box
- “Ingreso“– you should select “efectivo” (cash) as the payment method.
Finally, you complete the “I am human” verification box with the code shown on the page and click “descargar impreso rellenado”
- The completed form will be generated as a pdf – which I suggest you save to your PC, but also, you need to print all the pages of the pdf and take them to a local bank to pay the €15.92 fee, in cash. Once you have paid the bank will stamp the 3 forms within the pdf which you need to take to your TIE appointment (at the appointment they will take two of the pages and return one to you to keep for your records.)
Step 4: Get passport photographs
You need to 2 original copies of a recent passport photo to submit with your application. You can either get these at a photo booth which you can find in public areas like stations and shopping centres. Or many cities also have photo shops which specialise in providing passport photos. The main thing is the TIE is an official ID document, so the photo must follow the same guidelines for passport photos, therefore you cannot be wearing your favourite hat or sunglasses, or use a selfie taken in front of a famous landmark!

Step 5: Go to the appointment
You need to be able to show the original versions of the documents listed below, and also provide a photocopy to be kept by the application office, so ensure you have scanned or saved electronic copies of these documents, and that you take both the original and photocopies with you to the appointment.
- Your passport (the photocopy should be of all the pages).
- 2 passport photos.
- Print out of appointment confirmation (cita previa).
- Application form - EX-17 - remember to sign it!
- Tasa Modelo 790 codigo 012 form – stamped as paid.
- Empadronamiento document.
- Visa document, copy of relevant certification for your stay, e.g. University acceptance, work contract, self-employed/autonomo confirmation.
- Proof of health insurance/healthcare cover for workers.
I would strongly advise you to make sure you arrive early and allow plenty of time for the appointment as there is usually a queue to enter the offices. You need to show your proof of appointment to enter the offices. Once inside you will be given a number and asked to wait in the waiting area. When your number is called you will be taken by a representative to the desk/booth of one of the staff, so that they can check all your paperwork. Once all is verified you will be requested to scan your fingerprints (toma de huellas) and at the end of the appointment, you will be given a printed and stamped letter, which includes your personal details and is the proof that you have submitted your application for the TIE.
The actual TIE card will take somewhere between 3 to 6 weeks to be printed – and you should be given confirmation of the date for collection of your actual TIE card. If they don’t give you a date for collection you need to ask them for this, as you also need to make an official appointment to collect it. For this appointment you need to visit the Spanish administration website and choose “Policía – Recogida de Tarjeta de Identidad de Extranjero (TIE)“.
I am sure that completing this process may scare those of you with limited Spanish, but if you follow the steps above, you are well on the way to getting the TIE in Spain without problem. If you do feel like you need some help, you can always ask a friend or colleague with better Spanish to help you, or you can also try other advice agencies, such as the CAB Spain (citizensadvice.org.es) . Although it seems like a lot of form filling and hard work, I promise that you will feel elated, and proud of yourself once you have done it – it really is a reason to go to your local for cañas and tapas to celebrate!


Let Us Know What You Thought about this Post.
Put your Comment Below.